## Sửa Chữa Máy Hút Bụi Roborock H6: Bí Quyết Khắc Phục Lỗi Bàn Chải!
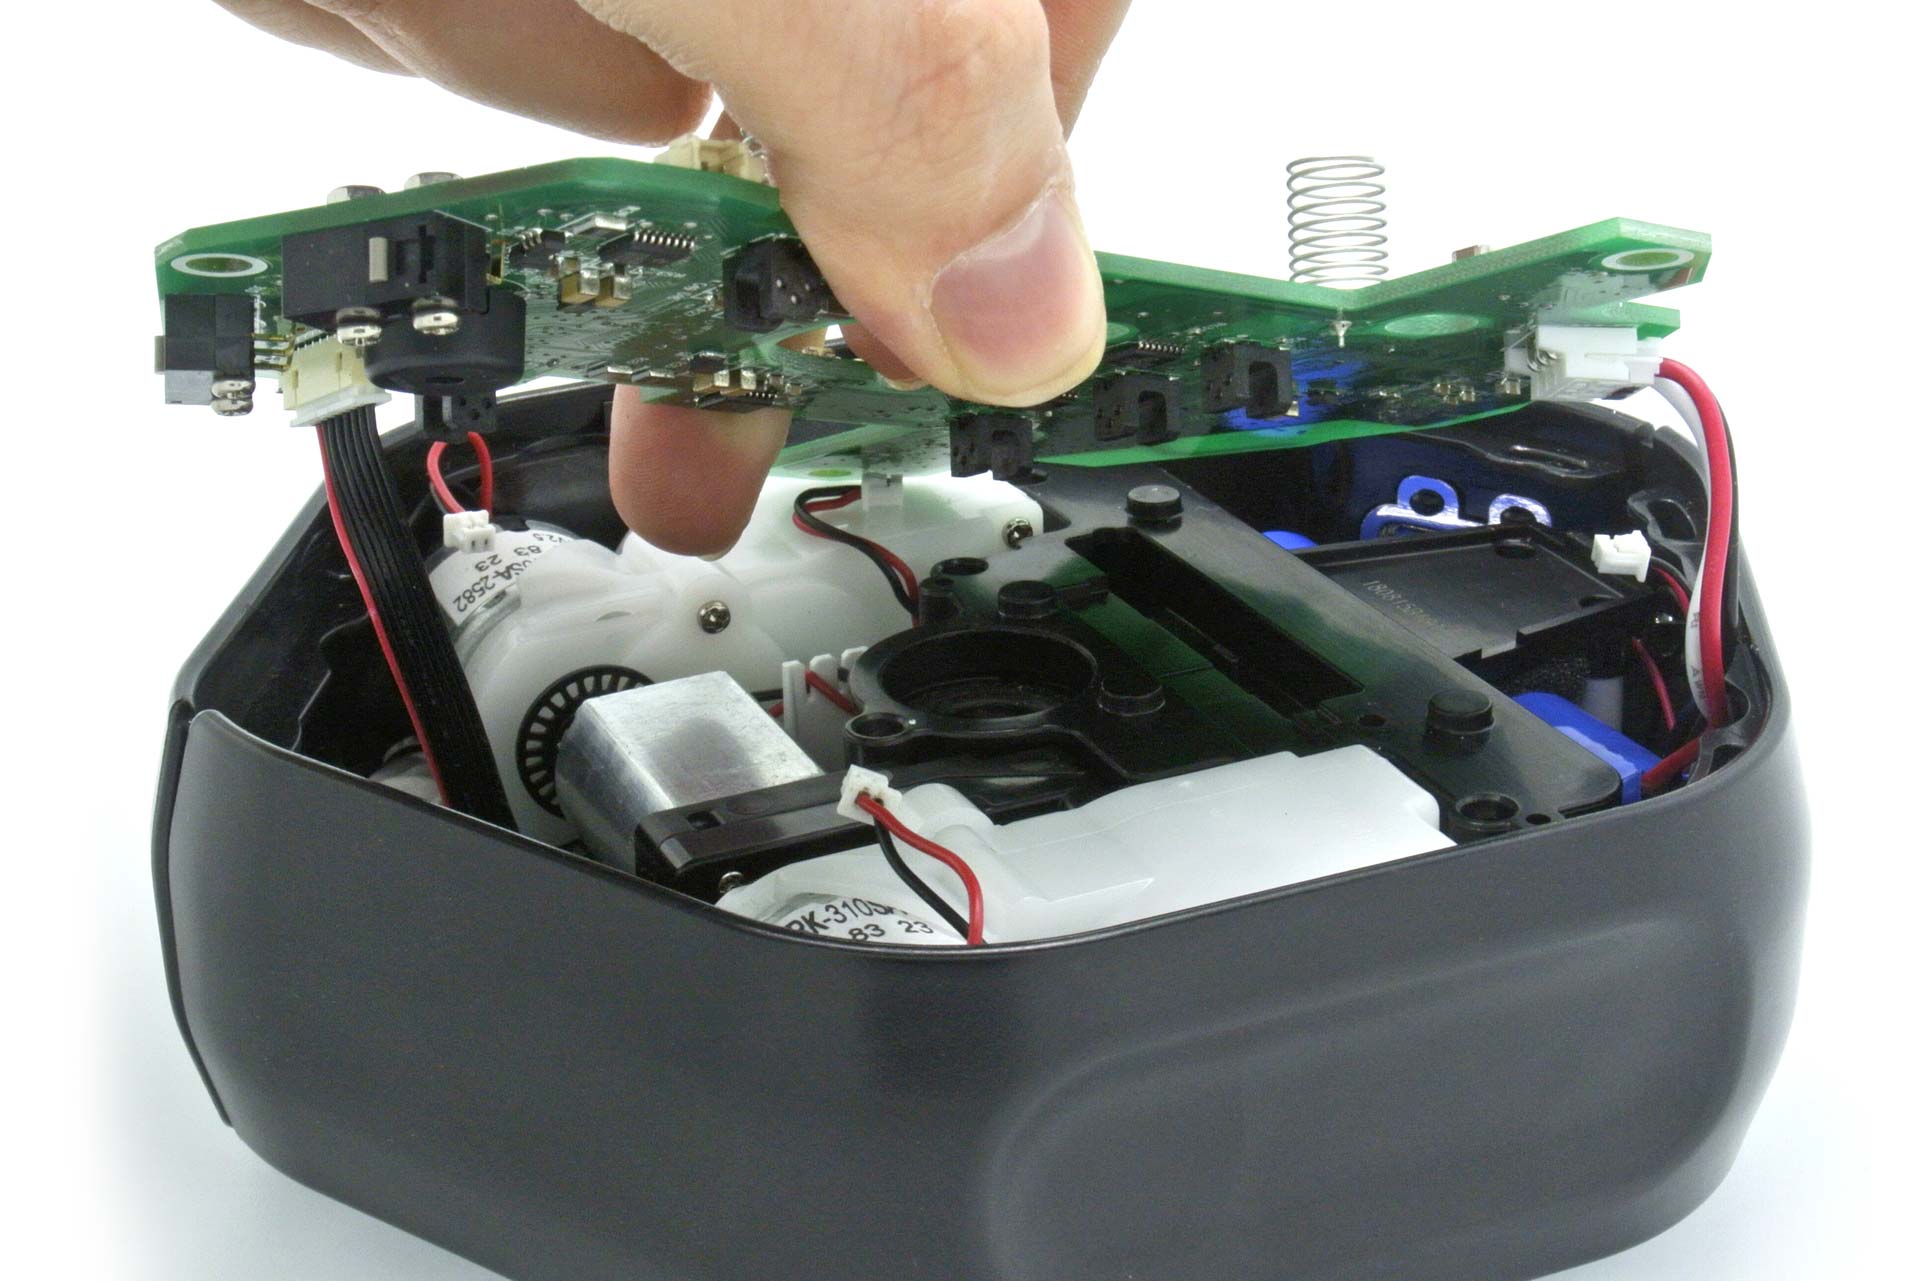
Máy hút bụi không dây Roborock H6 của tôi dường như có “ý chí” riêng. Lúc đầu, đầu hút không hoạt động, rồi lại hoạt động liên tục không ngừng. Khi bàn chải hoạt động, động cơ chính của máy lại không tắt, và chỉ khi gắn lại toàn bộ thiết bị vào đế sạc, nó mới tắt và bắt đầu sạc. Một trong những tính năng của chiếc máy hút bụi này là phần mềm có thể “cảm nhận” khi bàn chải được gắn vào và tăng tốc độ động cơ để bù cho tải thêm.
Tôi phải chẩn đoán xem đó là lỗi của bàn chải hay do phần mềm không phát hiện bàn chải như một tải. Sau khi kiểm tra tất cả các dây dẫn và động cơ bàn chải để đảm bảo mạch không bị đứt, tôi quyết định thay thế bàn chải bằng một tải tương đương. Nếu động cơ chính hoạt động bình thường, chứng tỏ lỗi nằm ở bàn chải.
Sử dụng định luật Watt, định luật Ohm và thông số kỹ thuật ghi trên thân máy hút bụi, tôi xác định được dòng điện tiêu thụ là 3 Ampere.
Tôi thay thế bàn chải bằng bóng đèn hậu xe hơi. Bóng đèn này tiêu thụ 1,78 Ampere và sẽ không gây quá tải cho phần cứng.
Việc sử dụng tải này cũng cho phép động cơ chính của máy hút bụi hoạt động bình thường. Sau khi kết nối máy hiện sóng (oscilloscope), tôi muốn xem phần mềm điều khiển hệ thống hoạt động như thế nào.
Chỉ với các đầu dò của máy hiện sóng được gắn vào, mạch sẽ gửi xung xuống đầu bàn chải, sau đó điện áp sẽ giảm xuống 0. Điều này chứng tỏ cần một tải để phần mềm hoạt động và tăng tốc độ động cơ chính.
Được rồi, giờ đã xác định được lỗi nằm ở bàn chải, đã đến lúc chẩn đoán mạch của bàn chải.
Tôi ngạc nhiên vì nó đơn giản đến mức nào. Chỉ cần một vài tụ điện và điện trở với một Mosfet ở trung tâm.
Việc kiểm tra rất dễ dàng và phát hiện Mosfet bị ngắn mạch.
Quan sát kỹ hơn, mạch in có vẻ bị sẫm màu xung quanh Mosfet.
Tôi đã cố gắng mua một Mosfet 7R504PL rẻ hơn, nhưng không tìm thấy trên các trang web quen thuộc. Cuối cùng, tôi phải trả 30.000 VNĐ/Mosfet, nhưng phí vận chuyển lại lên đến 480.000 VNĐ! Bạn có thể hiểu tại sao một số người lại chọn không sửa chữa đồ điện tử mà mua mới.
Sau khi tháo bỏ linh kiện bị lỗi, tôi phát hiện một vật liệu kim loại trên đế của pad Mosfet. Tôi nghĩ đây có thể là kim loại lỏng, thứ mà tôi chưa quen thuộc. Sau một vài lần cố gắng loại bỏ phần còn lại và nghiên cứu thêm, tôi quyết định chỉ sử dụng hàn làm đế trên pad tản nhiệt. Nếu phải sửa chữa lại, tôi có thể sử dụng phương pháp khác. Có nhiều ý kiến khác nhau về cách loại bỏ kim loại lỏng đã cứng lại. Sử dụng súng nhiệt, Mosfet đã được thay thế. Tôi đã kiểm tra xem các số liệu đo được chính xác trước khi tiến hành “thử nghiệm thực tế”.
Việc sửa chữa được thực hiện một cách yên tĩnh trong phòng thí nghiệm điện tử của tôi, vì vậy vợ tôi không yêu cầu tôi hút bụi toàn bộ ngôi nhà……..Tôi đã từng bị bắt gặp rồi!
Với máy hút bụi đã được khôi phục và kiểm tra hoạt động, giờ đây nó có thể được đặt lại vào đế sạc.
Nếu bạn quan tâm đến việc sửa chữa này, bạn có thể xem video trên kênh của tôi theo liên kết bên dưới: [Liên kết video ở đây]
Bài viết này được Mark Rabone từ Úc biên soạn.
Vui lòng ủng hộ bằng cách nhấn vào các nút mạng xã hội bên dưới. Phản hồi của bạn về bài đăng rất được hoan nghênh. Vui lòng để lại bình luận.
Ghi chú: Bạn có thể xem bài viết sửa chữa trước đây của anh ấy về tiếng kêu khó chịu ở card đồ họa được sửa chữa [Liên kết bài viết trước]
Thích (1) Không thích (0)
#RoborockH6 #SửaChữa #MáyHútBụi #LỗiBànChải #DIY #ĐiệnTử #HướngDẫnSửaChữa #ThủThuật #KhắcPhụcSựCố #Roborock #H6
Hãy viết bài báo dài đầy đủ chuyên nghiệp hay bằng tiếng VIệt kèm hashtag Roborock H6 Stick Vacuum Roller Brush Not Working

This Roborock H6 Stick Vacuum cleaner seemed to have a mind of its own. One minute the power head was not working, next minute it was working constantly.
Also, when the brush head was operating, the main vacuum motor would not switch off and it was only by refitting the entire unit back onto its charging station, that it would turn off and start charging. One of the features of this vacuum is that the software can ‘sense’ when the brush head is attached and then raises the motor speed to compensate for the extra load.
I had to diagnose if it was the brush head that was faulty or whether the software was not detecting the brush as a load. After testing all the wiring and the brush head motor for continuity, I decided to substitute the brush with an equivalent load and therefore if the main motor worked correctly, it would be a brush head fault.
Using Watts Law, Ohms Law and the specifications on the side of the vacuum, I was able to determine that the current draw would be 3 Amps.
I substituted the brush head with a tail light globe from a car. This draws 1.78 Amps and would not stress the hardware.
Using this load also allowed the main vacuum motor to operate correctly. After connecting my oscilloscope, I wanted to see the software operating the system.
With only my oscilloscope probes attached, the circuit would send a pulse down to the brush head, then voltage would drop to zero. This proved that a load was required to operate the software and increase the main motor speed.
OK, now it was determined that the brush head was at fault, it was time to diagnose the brush head circuitry.
I was surprised how simple it was. Only a few capacitors and resistors with a Mosfet at the centre.
Testing was easy and the Mosfet was found to be shorted.
Upon closer inspection, the circuit board appeared to be darkened around the Mosfet.
I tried to buy a cheaper 7R504PL Mosfet, however, I could not find one on the usual sites. I ended up paying $1.50 per Mosfet, yet the shipping was $24.00! You can understand why some choose not to get their appliances repaired, but rather get a replacement item.
After removing the faulty component, I found a metallic material over the base of the Mosfet pad. I thought this might be liquid metal, which I was not familiar with. After some attempts to remove the remains and further research, I decided to just use solder as the base on the thermal pad. If I had to do this repair again, I might use a different method. There are many opinions on how to remove liquid metal that has gone hard. Using a heat gun, the Mosfet was replaced. I checked that the readings were correct before carrying out a ‘road test’.
This was done quietly in my electronics lab, so my wife didn’t ask me to vacuum the entire house……..I have been caught before!
With the vacuum restored to working order and tested, it could now be placed back on the charging station.
If you are interested in this repair, you can see a video on my channel following the link below:
This article was prepared for you by Mark Rabone from Australia.
Please give a support by clicking on the social buttons below. Your feedback on the post is welcome. Please leave it in the comments.
P.S- Do you know of any your friends who would benefit from this content that you are reading now? If so, forward this website to your friends or you can invite your friends to subscribe to my newsletter for free in this .
Note: You can check out his previous repair article on
Likes (1)Dislikes
 (0)
(0)
//
(tiêu đề viết lên đầu)
Roborock H6 Stick Vacuum Roller Brush Not Working
This Roborock H6 Stick Vacuum cleaner seemed to have a mind of its own. One minute the power head was not working, next minute it was working constantly.
Also, when the brush head was operating, the main vacuum motor would not switch off and it was only by refitting the entire unit back onto its charging station, that it would turn off and start charging. One of the features of this vacuum is that the software can ‘sense’ when the brush head is attached and then raises the motor speed to compensate for the extra load.
I had to diagnose if it was the brush head that was faulty or whether the software was not detecting the brush as a load. After testing all the wiring and the brush head motor for continuity, I decided to substitute the brush with an equivalent load and therefore if the main motor worked correctly, it would be a brush head fault.
Using Watts Law, Ohms Law and the specifications on the side of the vacuum, I was able to determine that the current draw would be 3 Amps.
I substituted the brush head with a tail light globe from a car. This draws 1.78 Amps and would not stress the hardware.
Using this load also allowed the main vacuum motor to operate correctly. After connecting my oscilloscope, I wanted to see the software operating the system.
With only my oscilloscope probes attached, the circuit would send a pulse down to the brush head, then voltage would drop to zero. This proved that a load was required to operate the software and increase the main motor speed.
OK, now it was determined that the brush head was at fault, it was time to diagnose the brush head circuitry.
I was surprised how simple it was. Only a few capacitors and resistors with a Mosfet at the centre.
Testing was easy and the Mosfet was found to be shorted.
Upon closer inspection, the circuit board appeared to be darkened around the Mosfet.
I tried to buy a cheaper 7R504PL Mosfet, however, I could not find one on the usual sites. I ended up paying $1.50 per Mosfet, yet the shipping was $24.00! You can understand why some choose not to get their appliances repaired, but rather get a replacement item.
After removing the faulty component, I found a metallic material over the base of the Mosfet pad. I thought this might be liquid metal, which I was not familiar with. After some attempts to remove the remains and further research, I decided to just use solder as the base on the thermal pad. If I had to do this repair again, I might use a different method. There are many opinions on how to remove liquid metal that has gone hard. Using a heat gun, the Mosfet was replaced. I checked that the readings were correct before carrying out a ‘road test’.
This was done quietly in my electronics lab, so my wife didn’t ask me to vacuum the entire house……..I have been caught before!
With the vacuum restored to working order and tested, it could now be placed back on the charging station.
If you are interested in this repair, you can see a video on my channel following the link below:
This article was prepared for you by Mark Rabone from Australia.
Please give a support by clicking on the social buttons below. Your feedback on the post is welcome. Please leave it in the comments.
P.S- Do you know of any your friends who would benefit from this content that you are reading now? If so, forward this website to your friends or you can invite your friends to subscribe to my newsletter for free in this .
Note: You can check out his previous repair article on
Likes(1)Dislikes(0)
//
[su_box title=”Liên hệ đặt mua sản phẩm tại bài viết tại Viễn Đông Mobile” style=”default” box_color=”#3be863″ title_color=”#FFFFFF” radius=”3″]
Viễn Đông Mobile là cửa hàng chuyên kinh doanh các sản phẩm điện tử phục vụ nhu cầu chơi game, bao gồm:
- Gaming phone: Điện thoại cấu hình mạnh, tối ưu cho việc chơi game.
- Máy tính bảng chuyên gaming: Màn hình lớn, hiệu năng cao, trải nghiệm game tốt hơn.
- Phụ kiện cao cấp: Tai nghe, bàn phím, chuột,… hỗ trợ game thủ.
Thông tin liên hệ:
- Địa chỉ: 211 đường 3/2, phường 11, quận 10, TP.HCM
- Điện thoại: 0777600020
- Email: contact@viendongmobile.com

Bản đồ chỉ đường
[su_gmap address=”211 đường 3/2 phường 11 quận 10 Tp hồ chí minh Việt Nam” responsive=”yes”] xin chào[featured_image]